Still need a graduation card or two?
JustRite has you covered......I absolutely love their sentiment sets....you get so much bang for your buck!!
Sharing this shaker card with you today:
Card Base: A2 black cardstock base (4&1/4" by 5&1/2")
To create the shaker window, start with a 4" by 5&1/4" piece of white cardstock....save this for later. Cut patterned paper of choice 4" by 5&1/4" then use the
JustRite Four in a Square die to cut window in this piece:
Here is the complete die set....this one is so versatile, love it:
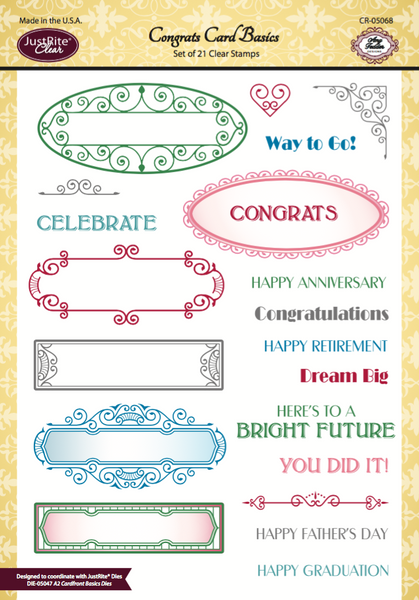
Next, die cut the window out of black cardstock, glue to front of patterned paper piece (line up the window). Stamp corner stamps from the JustRite
Congrats Card Basics set--I used Versamark, embossed them in black, then fussy cut. Glue corners to top window corners.
Add foam tape to the back of this entire piece....add a layer around the windows (I did each side, and then one strip across the middle....sorry forgot to grab a pic....but pretty self explanatory). Add sequins or any doo-dads you'd like, then remember the 4" by 5&1/4" piece of white cardstock from the beginning? You will remove the backing from the foam tape, and then line that piece of white cardstock to cover the back of your shaker. If you are a little off....you can trim the white piece.
Add ribbon bow to the bottom edge of this piece, then glue entire front to the black cardstock base.
Stamp and emboss Way to Go sentiment from the
Congrats Card Basics set, and cut it out using the small banner die from the
A2Card Front Basics die set. Trim it down and add to bow using twine.
Stamp oval scroll and Happy Graduation sentiments from the
Congrats Card Basics set using Versamark ink, emboss with black embossing powder. Stamp one of the sentiment boxes from this set using Antique Linen Distress ink (I used the one with the swirled edges, similar to the oval I used) and trim close around this box.
Using the
A2 Card Front Basics die set to cut out oval, and cut out sentiment (using the small banner die). These coordinate with this stamp set....makes it easy peasy to create!
Layer up the oval, then the sentiment rectangle box in the middle of the oval with foam tape, then a small piece of black cardstock (5/8" by 2&1/8"), then the Happy Graduation sentiment foam taped. Add enamel dots.
Glue a 6/8" by 4" strip of cardstock across the center of the window then glue the sentiment piece to the center. Here is a close up to show the layers:
The
Congrats Card Basics set has so many ways to layer it up, the possibilities are nearly endless:
So there you have it, a fun layered up shaker card for your favorite grad!
Thanks for stoppin' by today! Stop by the
JustRite store and check out some of these great sets!
Supplies:
Stamps: CR-05068 JustRite
Congrats Card Basics
Dies: DIE-05034 JustRite
Four in a Square; DIE-05047 JustRite
A2 Card Front Basics
Paper: Paper House Colorways 6x6 pad; AC cardstock, white, black
Ink: Versamark; Antique Linen Distress Ink
Other: Embossing powder-Ranger black; enamel dots-Recollections; ribbon-black seam binding, Trendy Twine Black Licorice; sequins-Pretty Pink Posh
Adhesive: Foam tape, Scor Tape