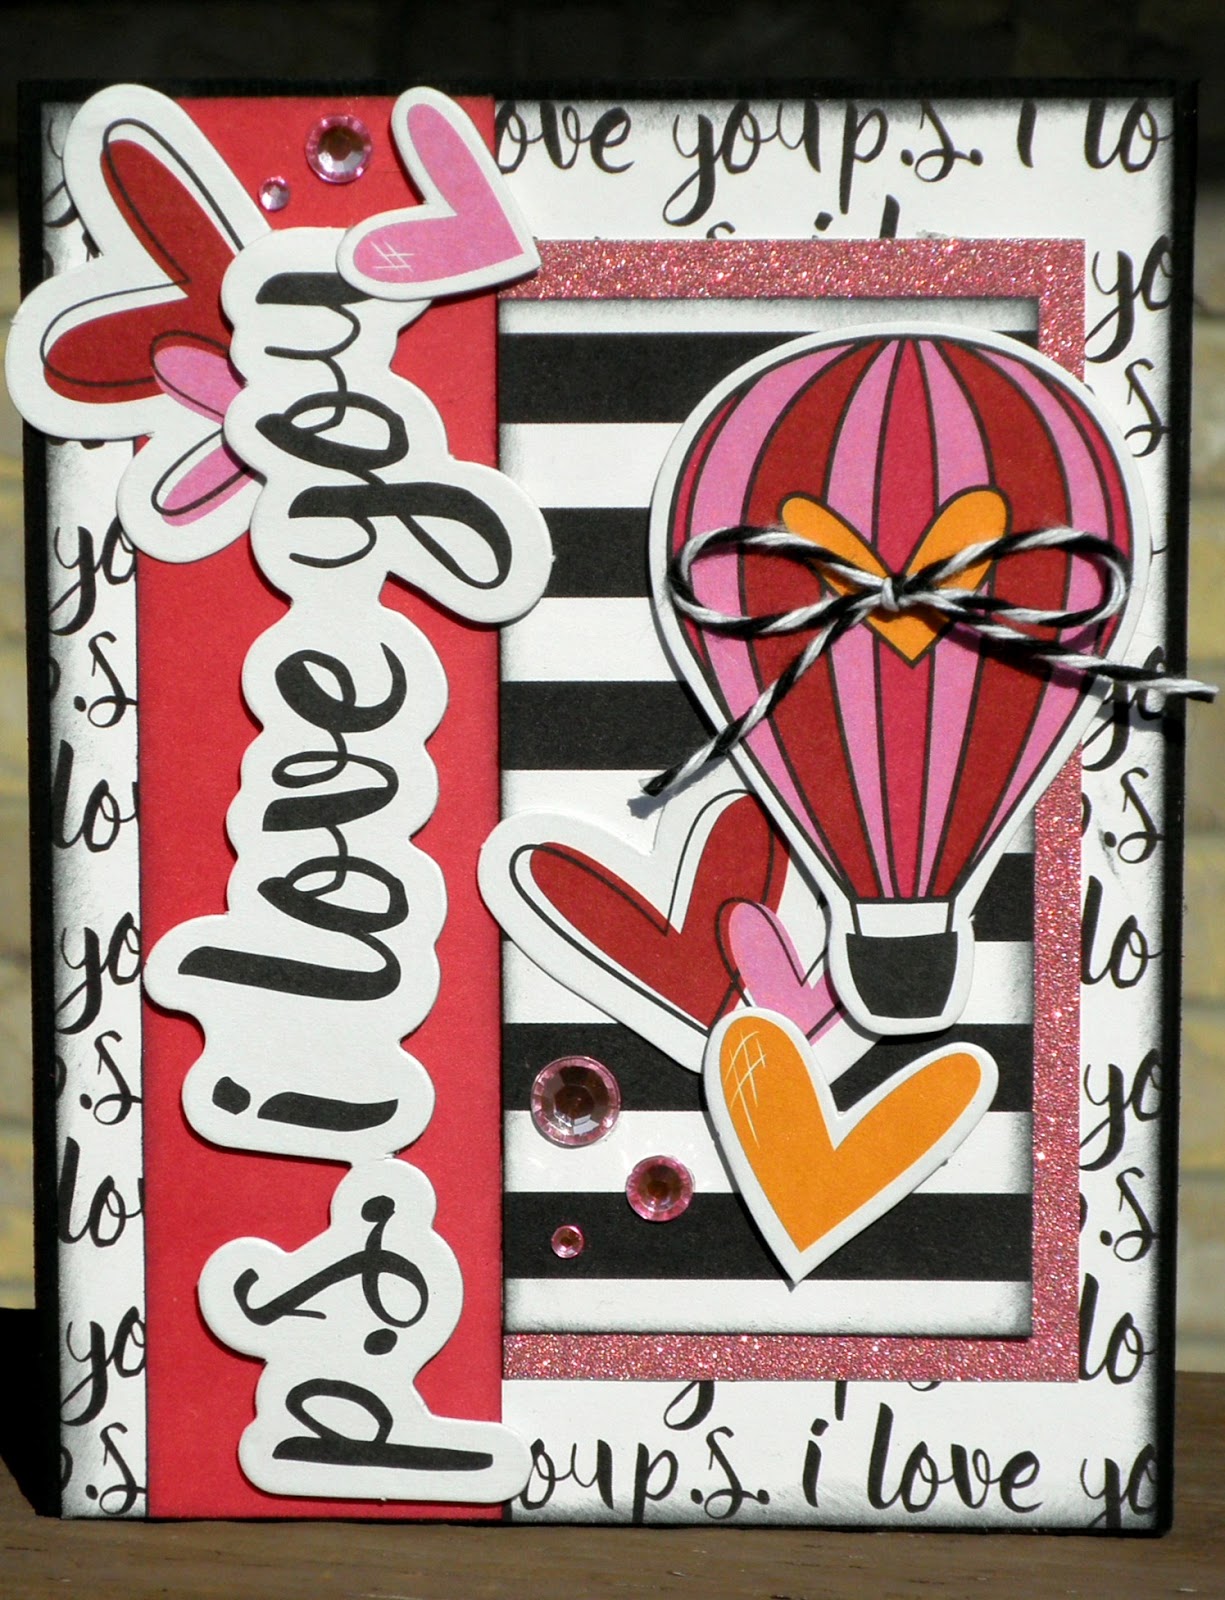
Showing posts with label Valentine's Day. Show all posts

Thursday, February 14, 2019

Valentine's Instahop!

Love is in the air, and it's also over at the Instahop on Instagram, 
where Clear Scraps wants to share a little giveaway love! 

I've got a great creative project to share, and a
lot more inspiration to be found too!

Stop by the Clear Scraps Instagram page
to get started!

Happy Valentine's Day!

Wednesday, March 15, 2017

Layered Love

Layers are something that a lot of people see....love, but think, I can't do that.  It's so very easy when you break it down!  Here's a layered up card I made using JustRite Stampers stamps and dies:


I've used papers from the Julie Nutting Belle Vie collection from Photo Play Paper.  The background lattice is cut from pink pearl cardstock. 


Here is the lattice layered over one of the patterned papers from Photo Play to start the card base:


The other layers are die cut out of black, light and dark pink pearl cardstock, and the swirl patterned paper from Photo Play.  The gray oval on the bottom was stamped using the swirl from the JustRite Large Oval Sympathy set:


I've used from left to right, top row to bottom: JustRite dies--Hello Decorative Frame Oval, Damask Flourish One, Vintage Labels Eleven, Hello Decorative Frame Oval (again for both ovals), and Love Sentiment.

These pieces are also in the order (left to right top to bottom) of how they were layered to create the card. I used some foam tape for dimension between layers. 

The flowers are a sneak peek of something that may come along from Just Rite....time will tell....I used the basic flowers and added stamping with the JustRite Text Background stamp, then coated them with glossy accents and a sprinkling of clear Rock Candy glitter from Tim Holtz.  A few enamel dots and a bit of tulle make for some pretty finishing touches:


Thanks for stopping by today!  Take some time to get creative (especially if you are snowed in!!).

Wednesday, March 8, 2017

Home Decor Sweet Nothings

Sharing my last project with the Fancy Pants Sweet Nothings collection (for now!).  I created a set of blocks as a kit for the LSS (Hannah's in Antioch IL) so they were out as a sample for the store....I've now gotten to take pictures to share!

Because this project is so wide.....over 2 feet....I took pics of the individual blocks so you can see the details up close!


Here is the complete project as it would be displayed:


Thanks for stopping by today!  Might stick with the love theme this week....check back soon to see ;)

PS: You can find all the Sweet Nothings collection HERE (I used the ephemera and most of the papers, and some bling and hearts I had). 

Friday, February 3, 2017

Sweet Nothings

Today I've got a pretty Valentine to share....and it uses the new Sweet Nothings collection from Fancy Pants, and a delicate pretty Valentine perfect punch from Just Imagine Kreaxions.....punch #916.


The border strips are made with the punch, and so are the little tag sides.  I created them by punching the border and cutting pieces out like so:


The stamps and papers are from the Fancy Pants Sweet Nothings collection and the ink is Memento and the hearts are colored in with Copic markers.

This punch and several others are on sale.....and more inspiration too over at the Just Imagine Crafts blog.... check it out HERE.

Thanks for stopping by to take a look!

Saturday, January 28, 2017

New Year....New Crafting!

New Year, new beginnings, right?  I always have so many things I'd like to do....but don't like the whole "resolutions" thing.  Too much pressure?  I don't know....but I do like to push myself every year to improve. 

I've recently had the dubious honor of living with an auto-immune disease.  A huge part of treatment is healthy, clean eating, and after a year of doing amazing...last year I slipped a bit and by the end of the year....a lot.  So this year....back to better choices.

I've also decided to start a home detox....not only the products I use....which I've been working on, but also in just clutter.  So much clutter it's hard to stay organized.  That's a toxic, stressful situation!  I know this is a big movement now, but for me the driving force was helping a friend get her home ready to put on the market.  WOW the stuff we don't even realize when we just live in our home "the way it is" every day.  Now I realize there are many of you that are very organized, but that is not me.  It's always a struggle.  But I've decided to really DO THIS!  So every day I've decided to pick a project....might be large, might be small, but something, to de-clutter.  I've done drawers, closets, cabinets....all in these first few days of the year.  I'm looking forward to a de-cluttered home....even if it takes me a year to get there....I've got this!

Well, ramble ramble....haha!  I'm going to share a project today.....it's been an entire MONTH plus since I've shared....partially the holidays, partially the holidays and working in retail, and partially just feeling poorly because I haven't been taking care of myself.  But this is another on my list of to-do this year....get creating even more!  I've got a lot of fun projects to blog about already, but first up is a project using a Just Imagine Kreaxions #916 punch and a super cute start to some Valentine's crafting:


To create the borders on the sides, I used the punch with the "A" guide.  Super simple, but a pretty scroll design that makes me think of frilly Valentines.

I've also made a set of circles using the Just Imagine Kreaxions Circle Cutter....this thing ROCKS....such an easy and portable circle cutter....easy to adjust and easy to use.  I've also punched one of the circles around to create a doily effect lining it up like this:
 

It creates a doily effect like this: 


The other two sides are fun also, but no punches....love this Fancy Pants Sweet Nothings collection!


And the finished top with the doily, and some fluffy, glittery tulle:


I suggest getting the Circle Cutter the templates, and a punch or two and play, play, PLAY!!  So many fun and creative ways to use these!  A lot of great video tutorials online to check out too!

Thanks for stoppin' by today!  You can find the scroll punch #916 HERE and the Circle Cutter HERE.

And a quick thanks to Fancy Pants for the rockin' new Sweet Nothings collection!  I'm having a blast creating with this one!
Save
Save

Friday, February 14, 2014

Love Fest.....Valentine's Inspiration

Happy Valentine's Day everyone!  Today over at The Rubber Cafe', we are having a little "love fest" of great Valentine inspiration!  Whether you need a last minute Valentine, or want to think ahead to next year, or just would like a little "love in the air" today!

These cute little tags are a great project to tie onto a gift, box of candy, whatever, to let someone know just how much you care:


I used the "Remember the Moments" set and the "Just My Type" set from The Rubber Cafe'.  Both are great sets, with a lot of options besides Valentine's Day.

To make these tags:
1. Cut a 2&1/2" by 3&1/2" piece of black cardstock.  Trim the corners to get tag shape.
2. Decorate as desired.

To elaborate a bit....I used 1" and 2" strips of paper in different patterns from the BoBunny Head Over Heels 6x6 pad to decorate.  I used the "love" stamp from the Remember the Moments set....I colored with my Zig Markers in red and black and stamped on white cardstock.  The "happy valentine's day" and xoxoxo are from the Just My Type set. I trimmed them all to make the banners after they were stamped.  I added Queen and Co. Goosebumps bling and twine.  I also used buttons from my stash....but for the red button, I wanted a glittery button, so I made one using Scrap Happy Glue (careful to spread a thin layer so it didn't fill up the button holes....lol) and then buffed on a coat of Patriot Red You're So Fine glitter.

I also made this sweet little kitty cat card using the stamps from the Creative Cafe' Kit of the Month:

Colored with Copics, and decorated up with itmes from The Rubber Cafe' KOTM.  Love those clips and the Queen and Co photo corners are fun too!

Thanks for stoppin' by today....hope you enjoy the "Love Fest"....make sure to drop by The Rubber Cafe' to see all the inspiration up on the blog today!

Friday, January 10, 2014

Scrapping Our Stash Blog Hop with Practical Scrappers

Welcome to the Practical Scrappers "Scrappin Our Stash" Blog Hop!!

Hopefully you've hopped from Kim's blog HERE and I'll have a link
of your next stop at the end of this post.  If you'd like to start from the
beginning, hop over to Practical Scrappers HERE.  So much inspiration!
And just FYI....Kiwi Lane is sponsoring our hop, and offering a sweet
prize, so make sure to pop over to the Practical Scrappers blog for the
details on that.....but guess what?????

I also have a sweet little prize pack waiting for a lucky someone....yep,
some Valentine's goodies coming your way.....just as long as you leave
me a comment....would love to have you as a follower....but won't make
that a requirement.   Yes, one lucky winner will be chosen, and I will
post the winner Monday....must comment by Sunday Jan 12th by
midnight EST.  And the goodies will be a surprise....but I tend to be
kinda generous....so don't think you'll be disappointed!....lol.

Well, on to the real business......time to clear out those old stash items,
to make way for the new, hot, hip and happenin' CHA goodies! 

I decided it was time to crack the seal on some great goodies I picked
up from BoBunny....their Crush collection.  Perfect timing to make this
home decor piece for Valentine's Day:


And the best part....not only did I use the paper, a journal box sheet,
chipboard and stickers, but also popped open some Making Memories
paints, to paint the raw wood cube and candlestick pieces.

Here are close ups of the different sides of the cube:

This is a journal box, and 2 stickers....I used a little paper to make the
banners, and added the chipboard birds and hearts.

Side 2:

Love the impact of this side....yet super easy....journal box, chip heart,
and chip love....trimmed to fit.

Side 3:


Yep, you guessed it....another "journal box" and added the birdcage
and hearts out of chipboard, and the sentiment is another sticker.

Side 4:
 
Wow....if that doesn't say love is in the air....lol!  Another journal box,
but this one I trimmed to fit, then put a 1" piece of the "love" sentiment
paper on the left side.  Not before I wrapped it with some yummy
Trendy Twine and added a chip heart border.  Another sticker sentiment
and chip hearts in the upper right corner finish this side.

The top:

Thought I'd add a close up....this is a huge chip piece from the
Crush collection, and I used Glossy Accents to adhere a jewel
knob (Michael's dollar bin!).  A bit of organza ribbon and more
twine are the finishing touches on top.  I used the same twine and
ribbon, as well as another sticker/banner and a Tim Holtz bauble
to dress up the candlestick.

A quick tip....I assemble each square, THEN adhere it to the cube.
I recommend a strong adhesive, I use Glossy accents to attach the
wooden pieces together, and use Scor-Tape to adhere the paper
to the wood pieces....it really holds!

So there you have it....a little Valentine project, and I love that I
used my stash to make it!

Your next stop is Kelly Jean--you'll find her HERE.  So many
wonderful projects on this hop.....hope you'll grab a cuppa, and
settle in for a lot of amazing inspiration!  Thanks for stoppin' by!